How to Turn Your Linux Server into a Windows-Friendly File Server in Minutes
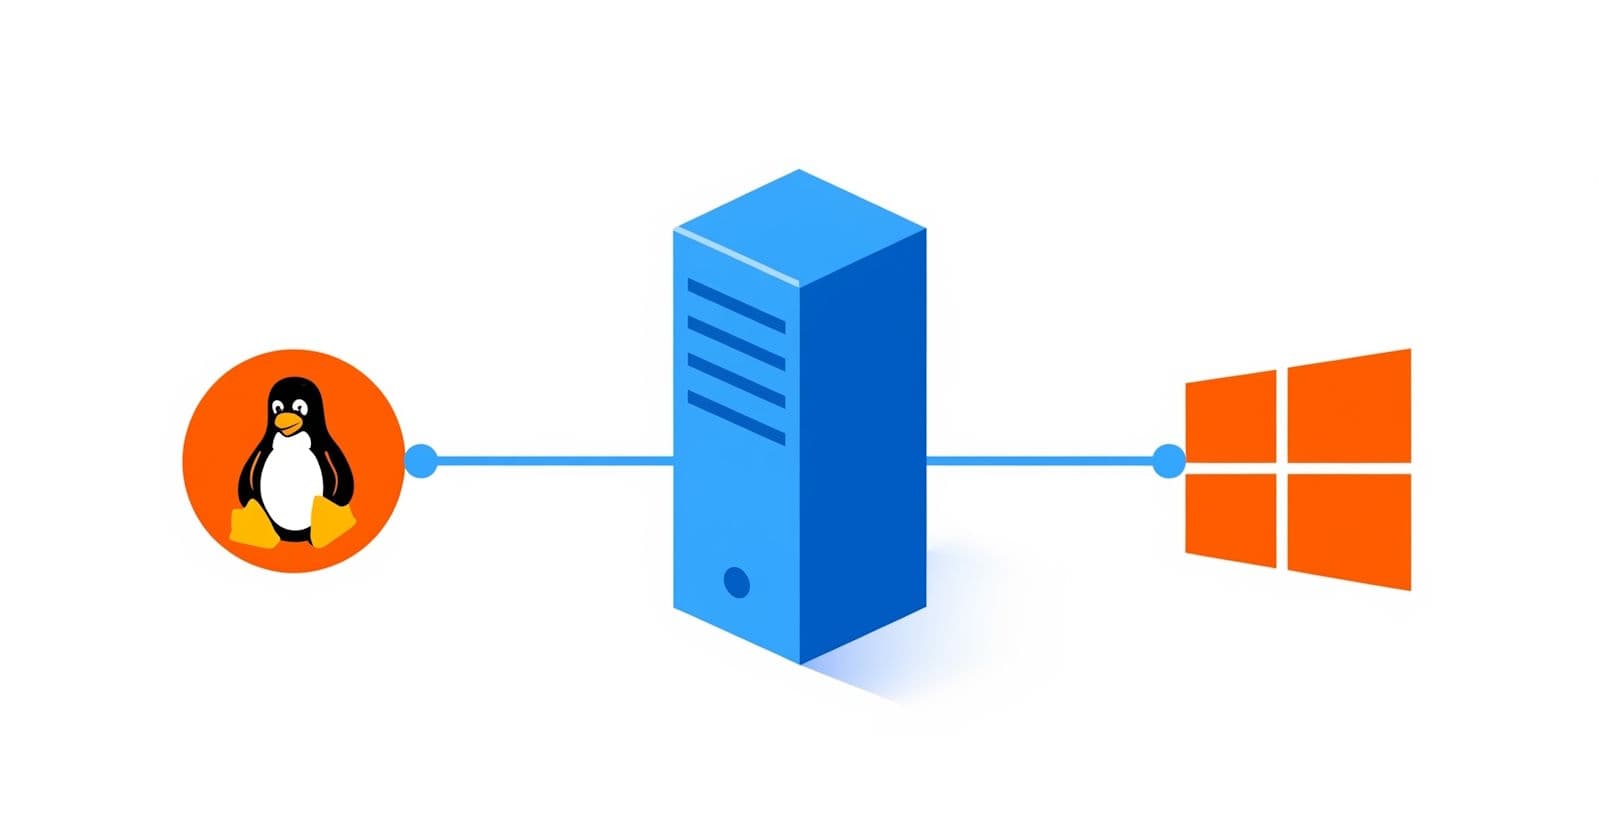
If you have a Linux server at home or in a small office, chances are you also have Windows machines that need to access files on it. The traditional path — installing and configuring Samba by hand — involves editing config files, managing users at the OS level, and debugging NetBIOS discovery issues. It works, but it is tedious and fragile.
Docker makes this dramatically simpler. You describe what you want with environment variables, run docker compose up -d, and it is done. No config files to hand-edit, no leftover state from previous experiments, easy to tear down and rebuild.
This article walks through a complete setup using two containers: samba for the file sharing itself, and wsdd2 so the server appears automatically in the Windows network neighborhood.
What You Need
- A Linux host with Docker and Docker Compose installed
- The directories you want to share already existing on the host
- Ports 445 (SMB) and 1900 (WS-Discovery) not blocked by a firewall
The Compose File
name: samba

services:
    samba:
        image: ghcr.io/antrv/samba
        container_name: samba
        restart: unless-stopped
        cap_add:
            - NET_ADMIN
        network_mode: host
        volumes:
            - /etc/localtime:/etc/localtime:ro
            - /host/share1:/shares/share1
            - /host/share2:/shares/share2
        environment:
            - MACHINENAME=FILES
            - MACHINETITLE=File Server
            - WORKGROUP=HOME

            - USER1_NAME=username
            - USER1_UID=1000
            - USER1_PASSWORD=password
            #- USER1_PASSWORD_FILE=/run/secrets/user1_password

            - SHARE1_NAME=share1
            - SHARE1_PATH=/shares/share1
            - SHARE1_COMMENT=Share 1
            - SHARE1_WRITE_LIST=@users
            - SHARE1_BROWSEABLE=yes
            - SHARE1_READ_ONLY=yes

            - SHARE2_NAME=share2
            - SHARE2_PATH=/shares/share2
            - SHARE2_COMMENT=Share 2
            - SHARE2_WRITE_LIST=@users
            - SHARE2_BROWSEABLE=yes
            - SHARE2_READ_ONLY=yes

    wsdd2:
        image: ghcr.io/antrv/wsdd2
        container_name: wsdd2
        restart: unless-stopped
        network_mode: host
        environment:
            - MACHINENAME=FILES
            - WORKGROUP=HOME
Save this as docker-compose.yaml, adjust the values for your environment, and bring it up:
docker compose up -d
Walking Through the Configuration
Host networking
Both containers use network_mode: host. This is not optional for Samba. SMB relies on NetBIOS name resolution and multicast discovery protocols that do not work correctly through Docker's default NAT bridge. With host networking the container shares the host's network stack directly, so Windows clients see it as a regular machine on the LAN.
The samba container
Server identity
MACHINENAME=FILES        # NetBIOS name — how Windows sees the machine
MACHINETITLE=File Server # Description shown in network browser
WORKGROUP=HOME           # Must match your Windows workgroup
Set MACHINENAME to whatever you want the server to appear as in \\FILES\share1 style paths. Keep it short, no spaces.
Users
USER1_NAME=username
USER1_UID=1000
USER1_PASSWORD=password
The container creates a Linux user with this UID and registers it with Samba's own password database. The UID matters when the share directory on the host is owned by a specific user — matching UIDs avoids permission problems without chmod 777 hacks.
You can add as many users as you need by incrementing the number: USER2_NAME, USER2_PASSWORD, and so on.
Keeping passwords out of the compose file
Putting passwords in environment variables is convenient but means they appear in docker inspect output and in your compose file committed to git. The image supports a file-based alternative:
# USER1_PASSWORD_FILE=/run/secrets/user1_password
With Docker secrets or a bind-mounted file, the container reads the password from the file instead. For a home server the inline password is fine; for anything more sensitive, use the file approach.
Shares
SHARE1_NAME=share1          # Share name — appears as \\FILES\share1
SHARE1_PATH=/shares/share1  # Path inside the container
SHARE1_COMMENT=Share 1      # Description shown to clients
SHARE1_BROWSEABLE=yes       # Visible when browsing the network
SHARE1_READ_ONLY=yes        # yes = read-only for everyone by default
SHARE1_WRITE_LIST=@users    # Who gets write access
SHARE1_READ_ONLY=yes combined with SHARE1_WRITE_LIST=@users means the share is read-only by default but any user in the users group can write. This is a safe default — only authenticated users can make changes. To make a share fully read-only for everyone, set WRITE_LIST to an empty value or omit it.
Add more shares by incrementing the number: SHARE2_NAME, SHARE2_PATH, and so on up to however many you need.
Volumes
- /etc/localtime:/etc/localtime:ro   # Keep container clock in sync with host
- /host/share1:/shares/share1        # Mount host directory into the container
Replace /host/share1 with the actual path on your Linux host. The right side (/shares/share1) is what you set in SHARE{N}_PATH.
The wsdd2 container
WS-Discovery is the protocol Windows 10 and later uses to find machines in the network neighborhood. Without it, your Samba server works fine — Windows clients can connect by typing \\FILES directly — but it will not show up automatically when browsing the network.
The wsdd2 container handles this. Give it the same MACHINENAME and WORKGROUP as the samba container and it takes care of the rest.
Connecting from Windows
Once the containers are running, open File Explorer on a Windows machine on the same network. Within a minute or two the server should appear under Network with the name you set in MACHINENAME.
You can also connect directly:
- Press
Win + R - Type
\\FILES(replace with yourMACHINENAME) - Press Enter
Windows will prompt for credentials. Enter the username and password you configured with USER1_NAME and USER1_PASSWORD.
To map a share as a persistent drive letter, right-click on the share in File Explorer and choose Map network drive.
Security Notes
The image enforces SMB2 as the minimum protocol version — SMB1 is disabled entirely. SMB1 has known critical vulnerabilities (it is what WannaCry exploited) and has no place on a modern network.
All access is authenticated. There is no guest access. The @users group in WRITE_LIST refers to Samba users you explicitly created — not arbitrary network users.
For a home LAN this setup is reasonable. If the server is accessible from outside your network, put it behind a VPN rather than exposing port 445 directly to the internet.
Adding More Users and Shares
The numbering scheme scales linearly. To add a second user and a third share:
USER2_NAME=anotheruser
USER2_PASSWORD=anotherpassword

SHARE3_NAME=media
SHARE3_PATH=/shares/media
SHARE3_COMMENT=Media Library
SHARE3_READ_ONLY=yes
Restart the container after changing environment variables:
docker compose up -d --force-recreate samba
Conclusion
Two containers, a handful of environment variables, and your Linux server is a fully functional SMB file server that Windows machines find automatically on the network. No config file editing, no system-level user management to undo later, and the whole thing lives in a single compose file you can version-control.
The images are available on GitHub Container Registry:
ghcr.io/antrv/sambaghcr.io/antrv/wsdd2
Source and the example compose file are at github.com/antrv/docker-images.


